Templating with LibreOffice¶
If you have read the Python code above you have seen that we pushed a dictionary to our template.render() method.
We must now declare the attributes you want to use from those variables in LibreOffice.
Use control structures¶
At the moment “for” and “if” controls are available.
In our example python code we have a dataset that contains a list of items. This list itself is named “items” and we want to iterate on all the items.
We should add a for loop using an hyperlink or an input field.
Hyperlink method¶
Every control structure must be added to you document using a specially formatted hyperlink:
link = py3o://for="item in items"
text = for="item in items"
Here is an example setup:
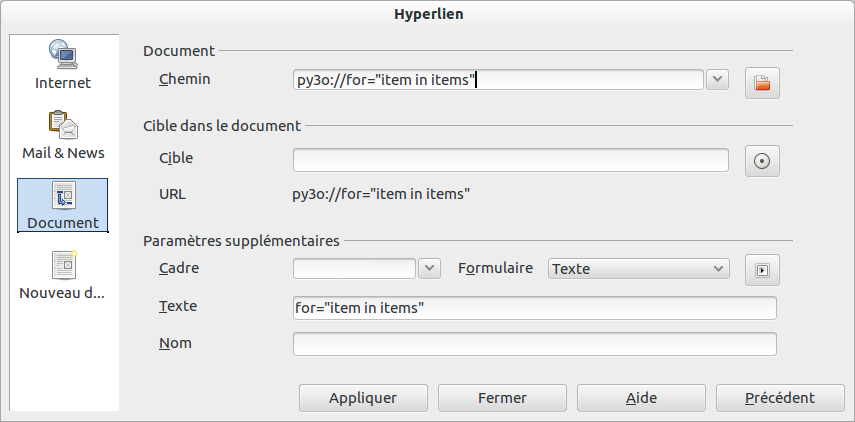
It is especially important to have the link value equivalent to the text value as in the example above.
Once you save your hyperlink, your py3o:// URL will become URL escaped which is fine.
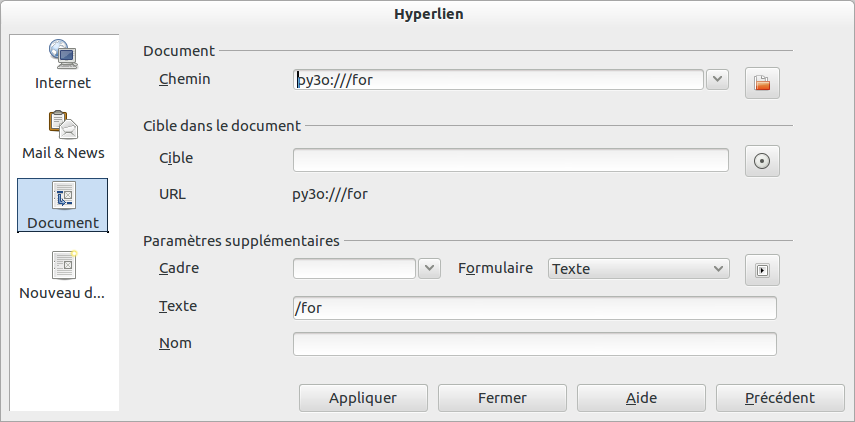
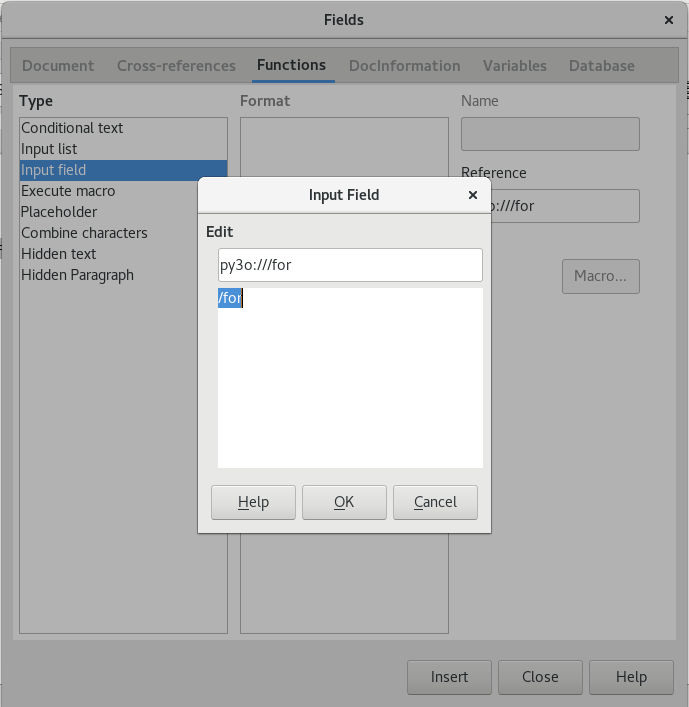
Every control structure must be closed by a corresponding closing tag. In our case we must insert a “/for” hyperlink:
link = py3o:///for
text = /for
Defined in the user interface as such:
Input field method¶
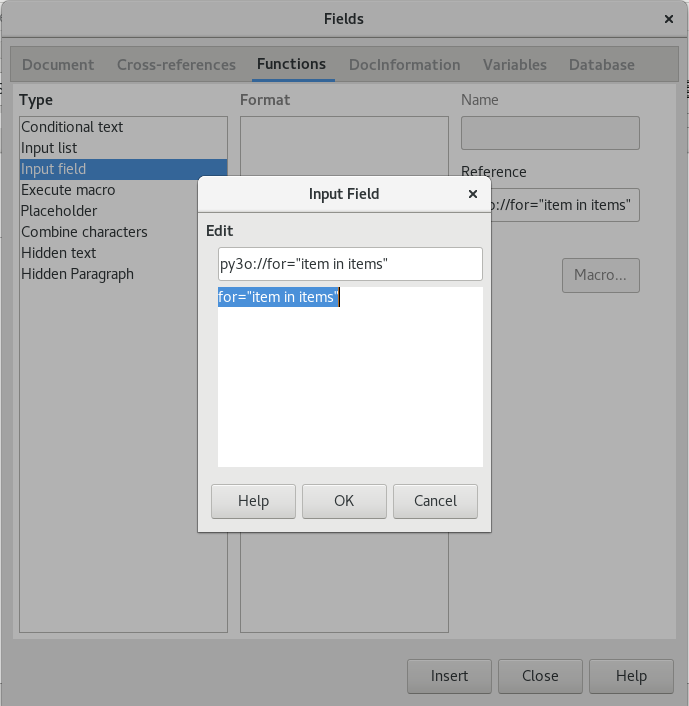
Every control structure must be added to you document using an input field:
reference = py3o://for="item in items"
name = for="item in items"
Here is an example setup:
Every control structure must be closed by a corresponding closing tag. In our case we must insert a “/for” input field:
reference = py3o:///for
name = /for
Defined in the user interface as such:
Define variables¶
This is done by creating user fields (CTRL-F2) with specific names. The naming scheme is important because it permits differentiate real user fields, which have their own purpose we won’t discuss in this document, from the ones we define in our templates.
Since we are inside a for loop that defines a variable names “items” we want to create a user variable in LibreOffice that is named like this:
py3o.item.Amount
The “Amount” is not something we invent. This is because the item variable is an object coming from your python code. And we defined the Amount attribute back then.
In LibreOffice, user fields can be defined by pressing CTRL-F2 then choosing variables and user-fields:
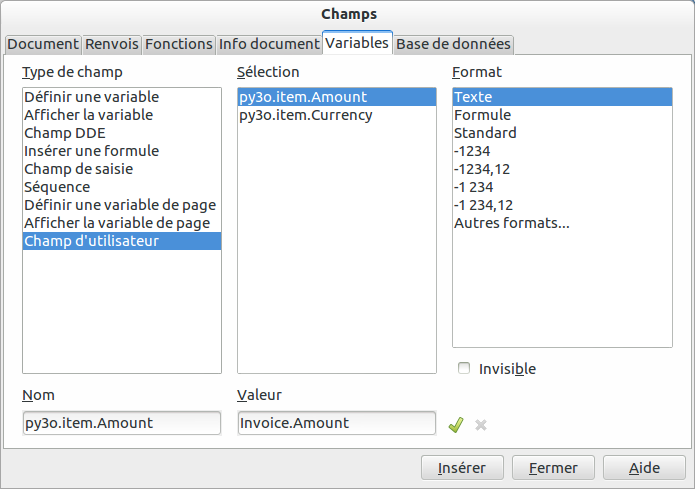
You must enter a value in name and value then press the green arrow to the right.
the “py3o.” prefix is mandatory. Without this prefix the templating system will not be able to find your variables.
The value (in our screenshot: Invoice.Reference) is only some sugar that helps read the template in OpenOffice.
You should take care to pick a nice and meaningfull value so that your end-users know what they will get just by looking at the document without being forced to open the variable definition.
Data Dictionnary¶
If you are a developper and want to provide some kind of raw document for your users, it is a good idea to create all the relevent user variables yourself. This is what we call in our jargon creating the data dictionary.
This is especially important because the variable names (eg: py3o.variable.attribute) are linked to your code. And remember that your users do not have access to the code.
You should put them in a position where they can easily pick from a list instead of being forced to ask you what are the available variables.
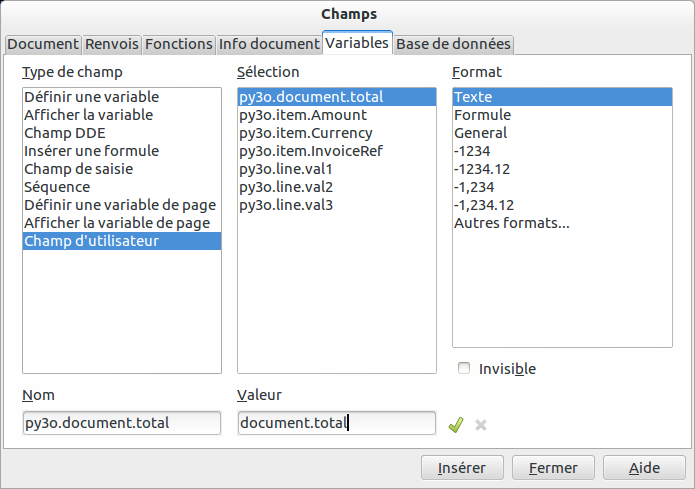
Insert variables¶
Once you have setup variables and defined some optional control structures you can start inserting variables inside the document.
The best way it to use the menu:
Insert > Field > Other
or just press:
CTRL-F2
then choose User fields in the field type selection, then choose your desired variable in the second column and then finally click insert at the bottom:
This operation will insert your user field near your cursor. This field will be replaced at template.render() time by the real value coming from the dataset (see above python code)
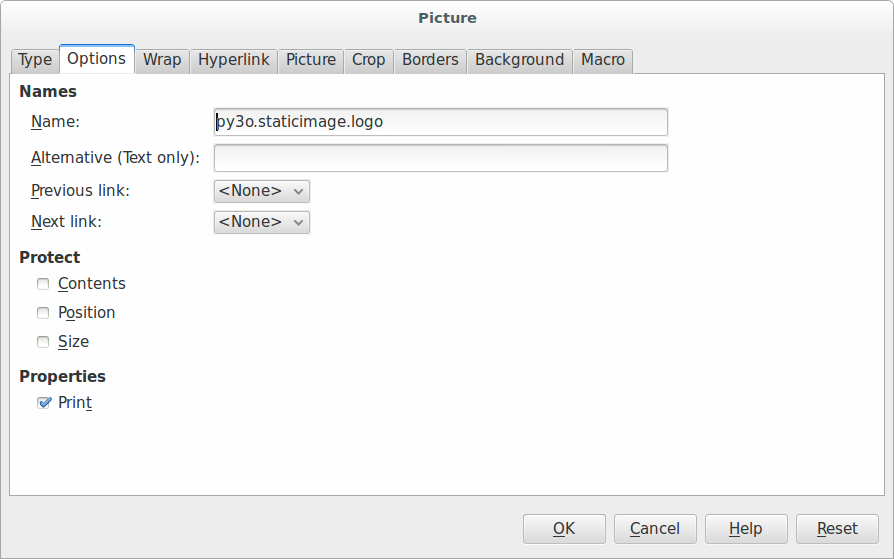
Insert placeholder images¶
py3o.template can replace images on-the-fly. To add an image field, add a regular image as a placeholder, open its properties and prefix its name with “py3o.staticimage.”; the rest of the image name is then its identifier:
The Python code has to call set_image_path or set_image_data to let py3o know about the image; check our example code:
from py3o.template import Template
t = Template("py3o_example_template.odt", "py3o_example_output.odt")
t.set_image_path('staticimage.logo', 'images/new_logo.png')
Insert images from the data dictionary¶
Images can also be injected into the template from the data dictionary. This method should be used in case you have to deal with multiple objects in a for loop, each with their own image. Insert an empty frame as a placeholder (Insert > Frame). Then open its properties and call the py3o.image function in the Name field.
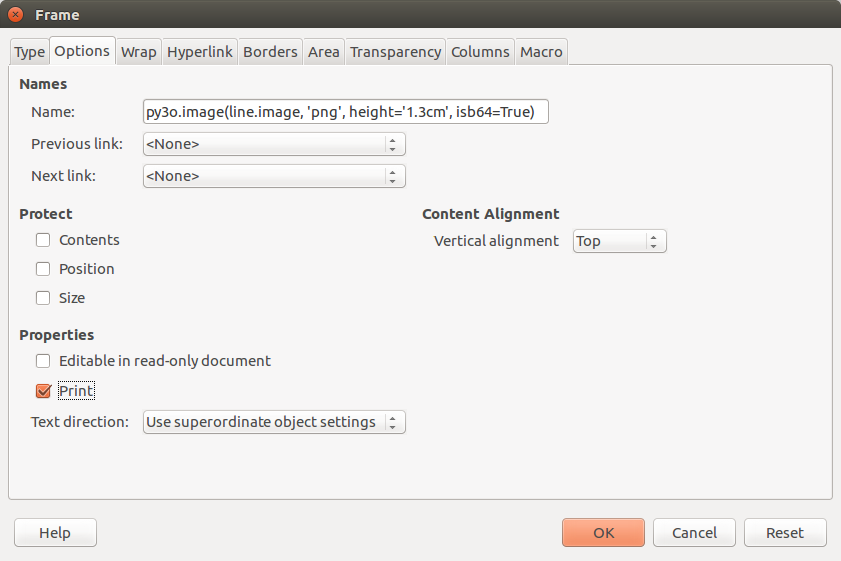
- data (required)
- the variable name for the image in the data dictionary.
- mime_type (required)
- the image’s file type.
- height (optional)
- the desired height for the image with the unit of measure (e.g. ‘1.3cm’).
- width (optional)
- The desired width for the image with the unit of measure (e.g. ‘2.55cm’).
- isb64 (optional)
- Whether the image data should be interpreted as base64-encoded bytes instead of raw bytes.
- keep_ratio (optional)
- Whether the aspect ratio of the image should be kept. If you use keep_ratio=True (which is the default), you should use either the option ‘height’ or ‘width’ (using both doesn’t make sense in this case). In case you give neither ‘height’ nor ‘width’, the image is scaled as to fit into the placeholder frame.
Possible unit of measures: cm, mm, in, pt, pc, px and em (the OpenDocument format uses the unit of measures defined in the section §5.9.13 of the XSL specifications).
Use format functions¶
Warning
Format functions are considered to be deprecated. They are meant to be replaced by py3o.types and native ODF formatting capabilities.
Some functions can be called from inside the template in order to format the data. To use a format function, insert a hyperlink as you would to start a loop or condition block:
Target:    py3o://function="format_function_name(data, format_arguments)"
Text:      function="format_function_name(data, format_arguments)"
or an input field:
reference: py3o://function="format_function_name(data, format_arguments)"
name:      function="format_function_name(data, format_arguments)"
Currency Formatting¶
format_currency(number, currency, format=None, locale='en_US_POSIX',
                currency_digits=True, format_type='standard',
                decimal_quantization=True)
Relies on babel.numbers.format_currency.
Online docs: * <http://babel.pocoo.org/en/latest/numbers.html#pattern-syntax> * <http://babel.pocoo.org/en/latest/api/numbers.html#babel.numbers.format_currency>
Changes we provide here: * Make the 2nd argument (currency) optional. When not displaying the
currency symbol, no need to provide a currency.
Their parameter docstring has been copied below.
- number
- the number to format
- currency:
- the currency code, optional unless displaying the currency
- format
- the format string to use
- locale
- locale identifier
- currency_digits
- use the currency’s natural number of decimal digits
- format_type
- the currency format type to use
- decimal_quantization
- Truncate and round high-precision numbers to the format pattern. Defaults
to
True.
Examples used in tests:
function="format_currency(0, format='#')" -> 0
function="format_currency(1, 'USD')" -> $1.00
function="format_currency(42.42, 'EUR')" -> €42.42
function="format_currency(123456789.4242, 'EUR')" -> €123,456,789.42
function="format_currency(123456789.4242, 'EUR', locale='fr_FR')" -> 123 456 789,42 €
Date Formatting¶
format_datetime(date_obj, format)
- date_obj
- One of: datetime.date object, datetime.datetime object, ISO formatted string (‘%Y-%m-%d’ or ‘%Y-%m-%d %H:%M:%S’).
- format (string)
- How the date should be formatted. We use babel to format; see <http://babel.pocoo.org/en/latest/dates.html#pattern-syntax>. Optional; when left as is, the default format is: * ‘YYYY-MM-dd’ for datetime.date objects. * ‘YYYY-MM-dd HH:mm:ss’ for datetime.datetime objects.
Examples used in tests:
function="format_datetime('2015-08-02', format='dd/MM/YYYY')"
    -> 02/08/2015
function="format_datetime('2015-10-15')"
    -> 2015-10-15
function="format_datetime('2015-08-02 17:05:06', format='dd/MM/YYYY HH.mm.ss')"
    -> 02/08/2015 17.05.06
function="format_datetime('2015-08-02 17:05:06', format='full', locale='fr_FR')"
    -> dimanche 2 août 2015 à 17:05:06 Temps universel coordonné
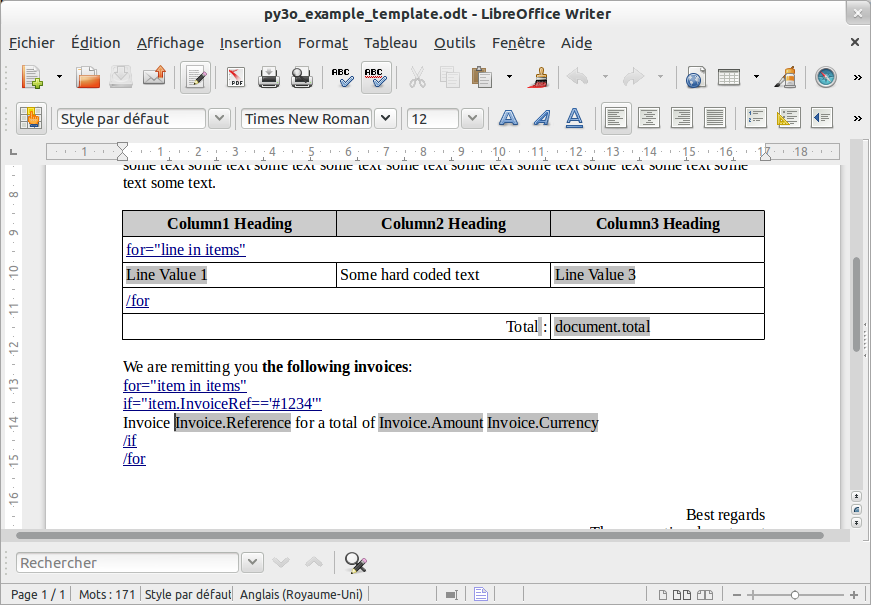
Example documents¶
You can find several example templates (ODT and ODS) in our source tree
Here is a screenshot to show you some control structures (for and if) in action. As you can see you can use these control structures even inside tables: